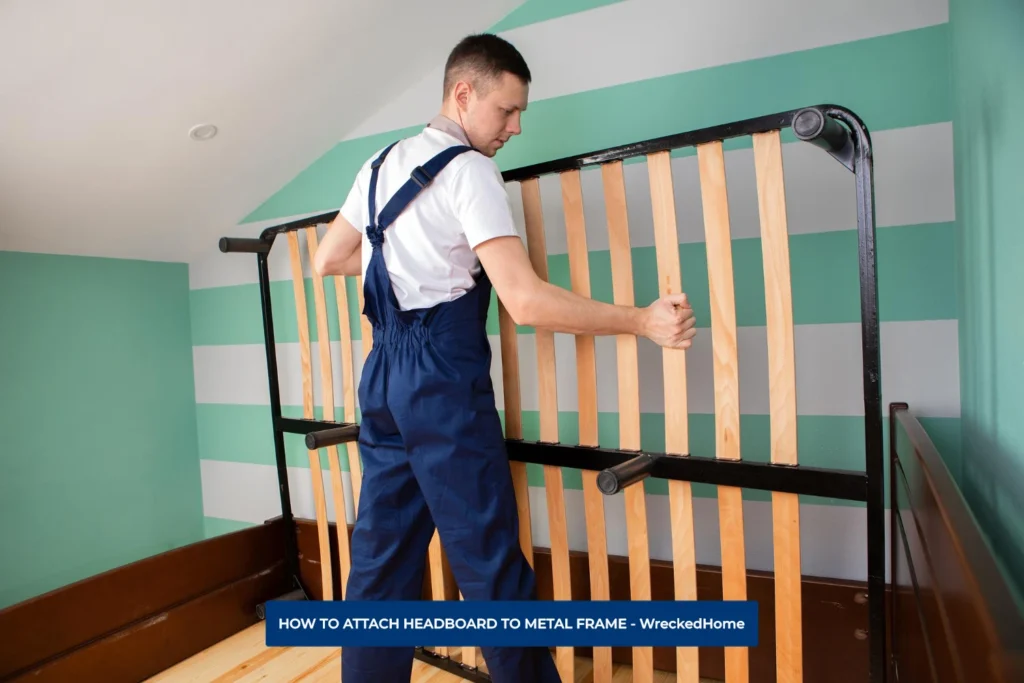
Hey there, DIY warrior! So, you've got this awesome headboard, maybe it’s a plush velvet dream, a rustic wooden wonder, or even a sleek modern masterpiece. And you’ve also got a trusty metal bed frame, the workhorse of your sleep sanctuary. The only snag? They're not exactly BFFs right out of the box. Don't sweat it! Attaching a headboard to a metal frame is totally doable, even if your toolbox skills are more "enthusiastic amateur" than "master carpenter." We’re gonna break this down, no sweat, no fuss, and you'll be lounging against your fabulous new headboard in no time. Think of me as your friendly, slightly goofy, virtual DIY guru!
First things first, let’s talk about why you might need to attach a headboard. Maybe your existing frame is a bit… basic. Or perhaps you snagged a killer deal on a headboard that just doesn’t have its own legs. Whatever the reason, this little project is going to add some serious oomph and personality to your bedroom. It’s like giving your bed a fancy hat – totally unnecessary, but oh-so-stylish!
Before we dive into the nitty-gritty of screws and bolts (don't worry, it's not as scary as it sounds!), let's do a quick mental inventory. What kind of headboard do you have? And more importantly, what kind of metal bed frame are we working with? These two things are going to dictate our strategy. It’s like picking the right dance partner for your headboard’s big debut!
Know Thy Frame (and Thy Headboard!)
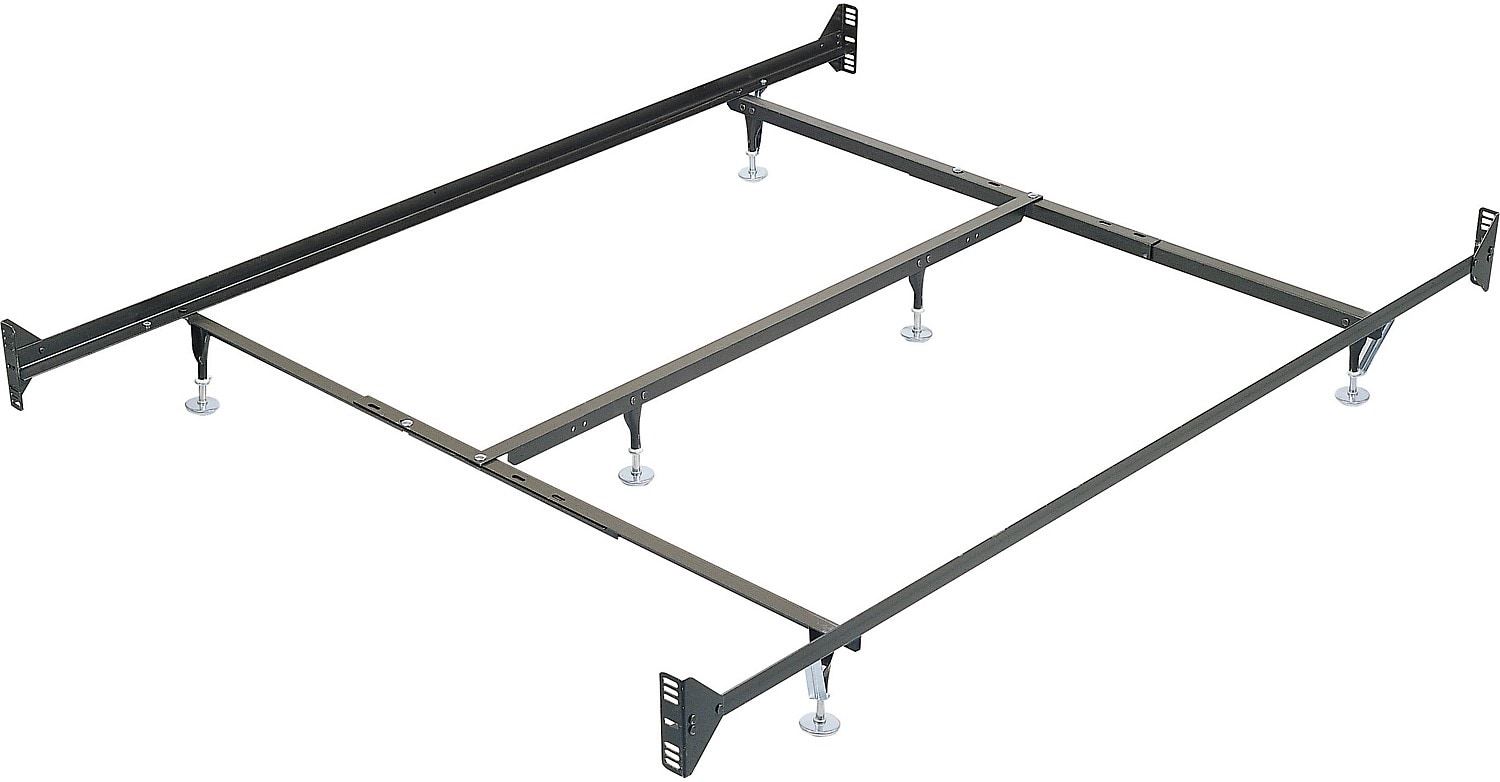
Okay, so your metal bed frame. Most of them fall into a few common categories. You might have one with a basic, flat metal base. These are super common and usually pretty straightforward. Then there are frames that have risers or legs sticking out from the corners, often with pre-drilled holes. Some frames even have specific brackets designed for attaching headboards. It’s like checking your guest list before the party – you want to know who you're inviting!
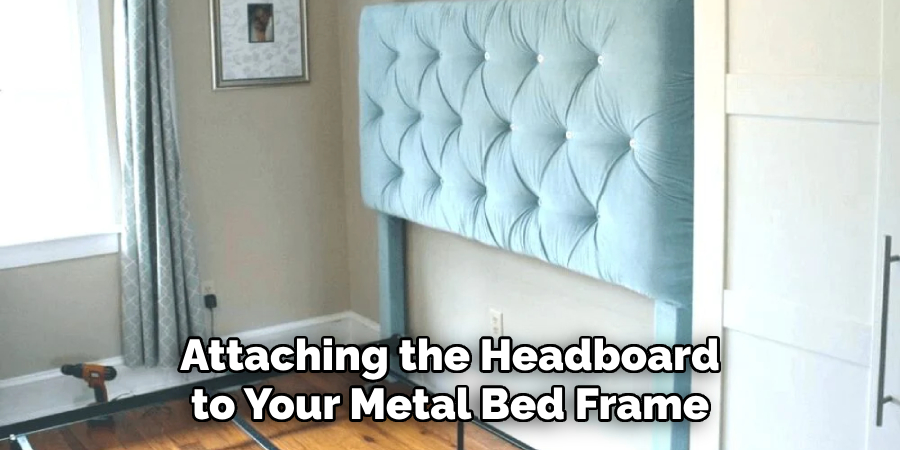
Now, your headboard. Is it a standalone piece that needs to be supported? Or does it have pre-drilled holes in the back that are meant to connect to something? Understanding these little details is key. Some headboards are designed to hang directly on the wall, but since we’re talking metal frames, we’re focusing on attaching it to the bed. Think of it as giving your headboard a cozy, stable home.
The "Is It Even Necessary?" Check
Let's be honest, some headboards are chunky, heavy beasts. Others are light as a feather. If yours is a super lightweight fabric-covered panel, it might just lean against the wall behind your bed and stay put, especially if your pillows are strategically placed. But for anything with a bit of heft, or if you’re a restless sleeper who tends to flail around like a startled octopus, you'll definitely want to secure it. Nobody wants a headboard surprise attack in the middle of the night!
Another thing to consider is the height of your headboard relative to your frame. If your headboard is super tall and your frame is low, you'll need a good way to bridge that gap. If your headboard is designed to sit on top of the frame, that’s a different ballgame than if it’s meant to attach to the side rails. We're going for stability and style, not a Jenga tower of furniture!
The Most Common Scenario: Brackets to the Rescue!
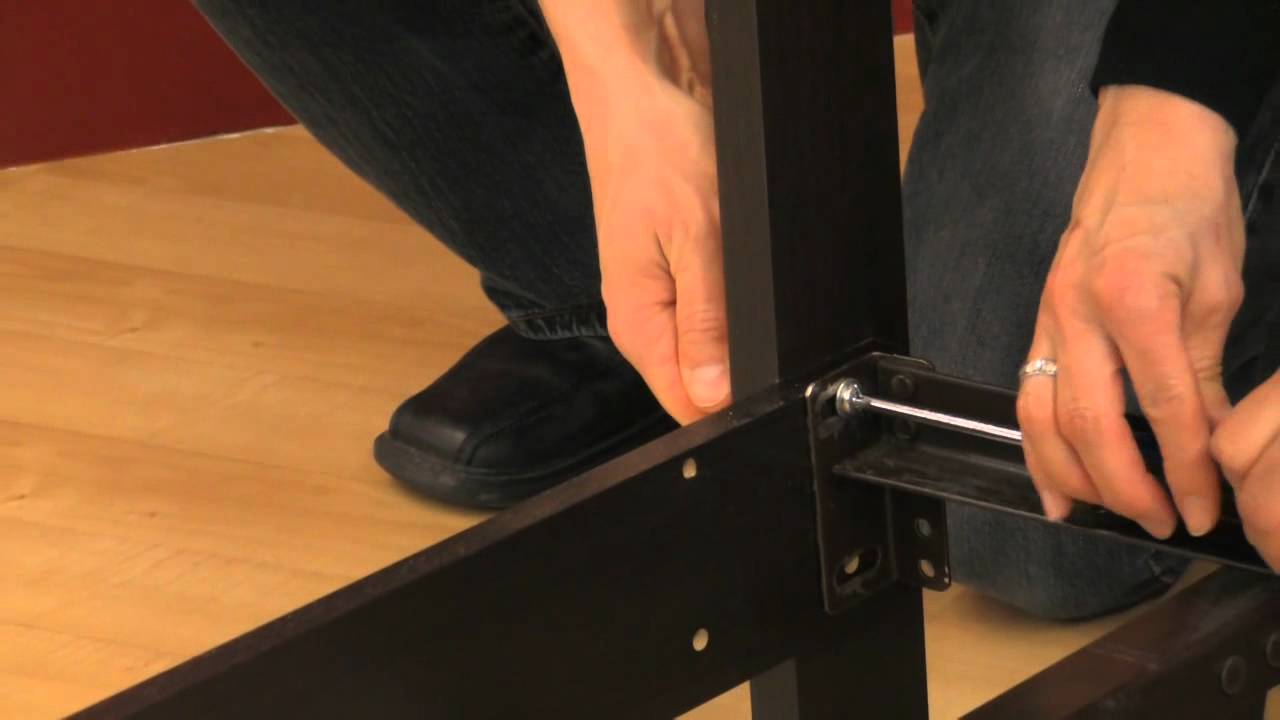
This is where things get exciting, or at least, practically exciting. Many metal bed frames are designed with headboard attachment in mind. Look at the head of your frame, where the mattress sits. You'll often see what looks like little metal ears or tabs sticking up, usually at the very front and back corners of the head of the frame. These are your new best friends: the headboard brackets!
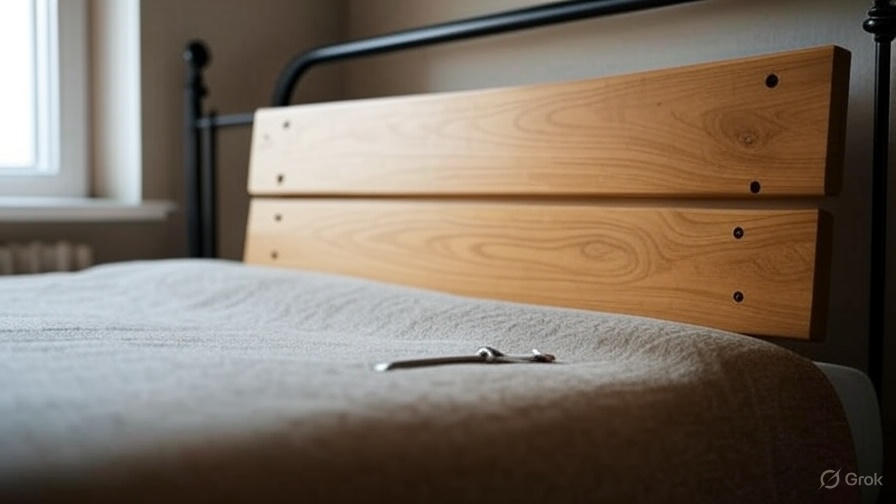
These brackets often have multiple holes in them. This is a good thing! It means you have options. Your headboard, if it’s designed for this, will likely have corresponding holes on its back. The goal is to align these holes and then use bolts and nuts to secure them together. It’s like a jigsaw puzzle, but with a much more satisfying end result – a fully functional, headboard-adorned bed!
So, what do you need? Well, some good old-fashioned hardware. Usually, you'll need a set of bolts, washers, and nuts. The size of these will depend on the holes in your frame and headboard. A quick trip to your local hardware store can solve this. Take a picture of your frame’s brackets and headboard holes (if you have them) with you. The helpful folks there can guide you. Don't be shy; they've seen it all! Think of them as your hardware wizards.
The process is usually as simple as this:
- Position the headboard: Line it up against the head of your bed frame.
- Align the holes: Match the holes on the headboard with the holes on the frame's brackets. You might need to wiggle things around a bit. Patience, grasshopper!
- Insert bolts and washers: Push the bolts through the aligned holes. Put a washer on the bolt before you put the nut on. Washers are like tiny shields for your wood/fabric, preventing the nut from digging in.
- Add nuts and tighten: Screw on the nuts and tighten them with a wrench. You might need a wrench on one side and a screwdriver (if the bolt has a head that needs holding) or another wrench on the other to get a good grip.
What if My Frame Doesn't Have Brackets? (The Adaptable Approach!)
Ah, the plot thickens! Not all metal frames are created equal, and some might be a bit more… minimalist. If your frame doesn't have those convenient little brackets, don't despair. We can get creative. The goal is still to securely connect the headboard to the frame. We just need to find a different way to do it.
One popular method involves using U-bolts or C-clamps in conjunction with a piece of wood or metal strapping. This is a bit more DIY, but totally achievable. Here’s the gist:
- Find some sturdy wood or metal: You'll need a piece of lumber (like a 2x4) or a metal strap that's long enough to span the width of your headboard's attachment points and also has holes drilled into it.
- Drill holes in your headboard (if needed): If your headboard doesn't have pre-drilled holes, you'll need to add some. Measure carefully and make sure they’re evenly spaced and at a height that makes sense for your frame.
- Drill corresponding holes in your wood/metal piece: These holes should line up with the holes you just drilled (or the ones already present) in your headboard.
- Attach the headboard to the wood/metal: Use bolts, washers, and nuts to secure the headboard to your wood or metal piece.
- Attach the wood/metal piece to the frame: This is where the U-bolts or C-clamps come in. You'll wrap the U-bolts around the horizontal rails of your bed frame (the side rails, usually) and then through holes drilled in your wood/metal piece. The C-clamps can clamp directly onto the frame rails and to the wood/metal piece.
This method might require a little more precision and a trip to the hardware store for specific hardware. But the beauty of it is that it’s customizable. You can adapt it to almost any frame and headboard combination. Think of yourself as a furniture surgeon, performing a life-saving operation!
Using Wall Anchors (The "Leaning Tower of Pisa" Prevention)
Okay, another strategy for the frame-less-bracket brigade is to use the wall itself as an anchor point. This is especially good for lighter headboards or if your frame is really low and doesn’t offer much to attach to. But here’s the catch: you need to make sure your headboard is actually attached to the frame as well, even if it’s just a little bit, to prevent it from tipping forward or backward when you lean on it. We don't want your headboard to become a "leaning tower of sleep!"
The idea here is to have a set of L-brackets (those little metal corner pieces) screwed into the wall behind your bed, at the height where your headboard would naturally sit. Then, your headboard (which might have holes drilled into its back) attaches to these wall brackets. It’s like giving your headboard its own personal shelf on the wall.
For this to work, you'll need:
- Sturdy L-brackets: Make sure they’re strong enough to support the weight of your headboard.
- Wall anchors: These are crucial for making sure the brackets stay put in your drywall. You don’t want your headboard crashing down with a dramatic flourish!
- Screws: The right length and type for your brackets and anchors.
- A drill and a level: Essential tools for making sure everything is straight and secure.

Important note: While wall anchoring is great for stability, if your metal frame has any kind of lip or rail at the head, you should still try to attach the headboard to the frame as well, even if it's just a simple zip tie or a single bolt connection. This creates a more robust system and prevents your headboard from leaning away from the wall when you put pressure on it.
Tools of the Trade (Keep It Simple!)
You don't need a whole workshop for this. Usually, a few basic tools will do the trick:
- Wrench set: You'll need these to tighten nuts and bolts. Adjustable wrenches are your friend here, as they can adapt to different sizes.
- Screwdriver set: Sometimes, you might need a screwdriver to hold a bolt head steady while you tighten the nut.
- Drill (optional, but handy): If you need to create new holes in your headboard or any adapter pieces.
- Measuring tape: For accuracy. Nobody wants an off-center headboard, unless that’s your thing!
- Level: To ensure everything is straight and plumb.
- Pliers: Can be useful for holding small nuts or bending things slightly.
And of course, bolts, nuts, and washers! Don’t forget those. Getting the right size is key. If you’re unsure, it's better to get a few different sizes and return the ones you don't use. Better to have too many options than not enough, right?
The "Measure Twice, Buy Once" Mantra
This is the golden rule of DIY, and it’s especially true when buying hardware. Before you head to the store, take a good look at the holes on your frame and your headboard. Are they round? Oval? How big are they? Measure the diameter of the holes. Then, look at the bolts you’re considering. You want the bolt to fit through the hole snugly but not so tightly that you have to force it. The nuts should screw on easily.
If you’re using U-bolts, measure the diameter of the metal rail on your frame. This will tell you what size U-bolt you need. It’s a little detective work, but it saves a lot of headaches down the line. Think of it as giving your project a solid foundation!
Let’s Get This Party Started!
So, you've got your frame, your headboard, your tools, and your hardware. You're ready to roll! Take a deep breath. This is going to be fun, and you’re going to feel incredibly accomplished when you’re done.
Double-check everything. Make sure the headboard is the right way up (trust me, I’ve seen things). Ensure the frame is stable and won’t wobble while you’re working. Lay down a blanket or some old sheets to protect your floor and your furniture from scratches. We’re aiming for a beautiful outcome, not a DIY disaster zone!
When you’re tightening those bolts, don’t go crazy and overtighten them, especially if your headboard is made of wood. You don’t want to strip the threads or crack the material. Just get them good and snug. You should feel a firm connection, but not like you’re trying to fuse two pieces of metal into one!
The Final Flourish: Admire Your Handiwork!
Once everything is secured, step back. Take it all in. You did it! You’ve transformed your bed from a functional sleeping surface into a stylish statement piece. Your headboard is no longer a free spirit; it’s a grounded, elegant addition to your bedroom.
Feel that little surge of pride? That’s the magic of DIY, my friend. You’ve taken something that seemed a little daunting and conquered it with a bit of ingenuity and a can-do attitude. Now, go on, crawl into your beautifully adorned bed, fluff those pillows, and enjoy the fruits of your labor. You’ve earned it, and your amazing headboard is just waiting for you to lean back and relax. Sweet dreams!