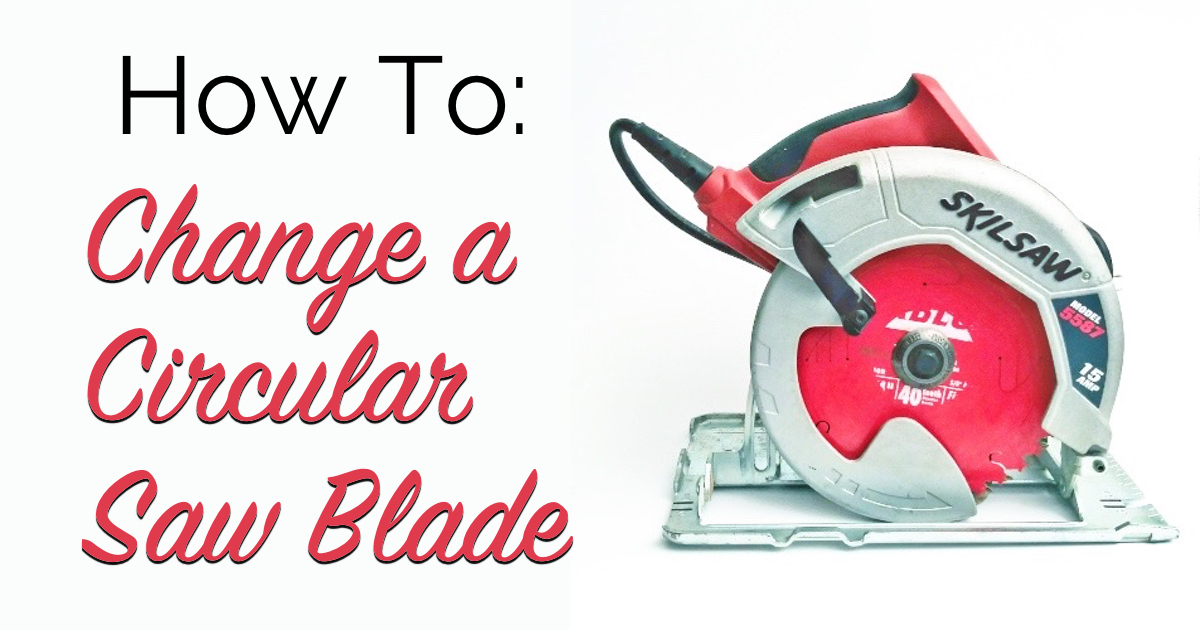
There’s a certain satisfaction that comes with a tool that just… works. And a Craftsman circular saw, for many of us, is that kind of tool. It’s the reliable workhorse that tackles everything from that DIY bookshelf you’ve been dreaming of to that quick fence repair after a particularly enthusiastic gust of wind. But even the most stalwart of companions needs a little TLC now and then. And when it comes to your trusty Craftsman, one of the most common – and frankly, easiest – bit of maintenance is changing that blade.
Now, if the thought of fiddling with power tools sends a shiver down your spine, I get it. It might feel like you’re stepping into a scene from Saw (minus the existential dread, hopefully!). But trust me, changing a circular saw blade is more akin to swapping out a record on your turntable than performing delicate surgery. It’s a straightforward process, and once you’ve done it a couple of times, you’ll be breezing through it like a pro.
Let’s set the mood, shall we? Picture this: a lazy Saturday morning, the smell of brewing coffee, maybe some mellow tunes playing in the background. Think less frantic workshop, more chill maker-space. You’ve got a project lined up, and you notice your current blade is looking a bit… well, tired. It’s dull, leaving ragged edges, and just generally making your life harder than it needs to be. Time for a refresh!
The Blade Whisperer’s Toolkit
Before we dive in, let’s talk about what you’ll need. It’s a surprisingly short list, which is part of the charm, right?
- Your Craftsman Circular Saw: Obviously.
- A New Blade: This is key. We’ll get into choosing the right one in a bit, but for now, just know you need a fresh, sharp blade designed for your saw.
- A Wrench or Socket Set: Most Craftsman saws come with a specific wrench for this job, often a hefty one that feels good in the hand. If yours has gone AWOL (we’ve all been there), a standard socket wrench set should do the trick. You’re looking for the size that fits the arbor nut.
- Gloves (Optional, but Recommended): Saw blades are sharp, and while you’re being careful, a little extra protection never hurts. Think of them as your "operation" gloves.
- Safety Glasses: Non-negotiable. Always protect those peepers.
- A Rag or Shop Towel: For wiping things down.
Safety First, Always (Even on a Chill Saturday)
This is where we channel our inner Bob Vila, minus the booming voice. Safety is paramount, and with power tools, it’s not just a suggestion, it’s the golden rule. Before you even think about touching that blade, make sure the saw is unplugged. Seriously, unplugged. No exceptions. Even if you’re just changing a blade, a stray bump can send that thing spinning, and nobody wants that. Think of it like putting your phone on airplane mode before a flight – a preventative measure that ensures a smooth journey.
Once unplugged, give the saw a quick once-over. Is anything loose? Is it clean? A quick wipe-down with that rag can go a long way. Sometimes, the sawdust bunnies can be more stubborn than we think!
The Grand Unveiling: Loosening the Old Blade
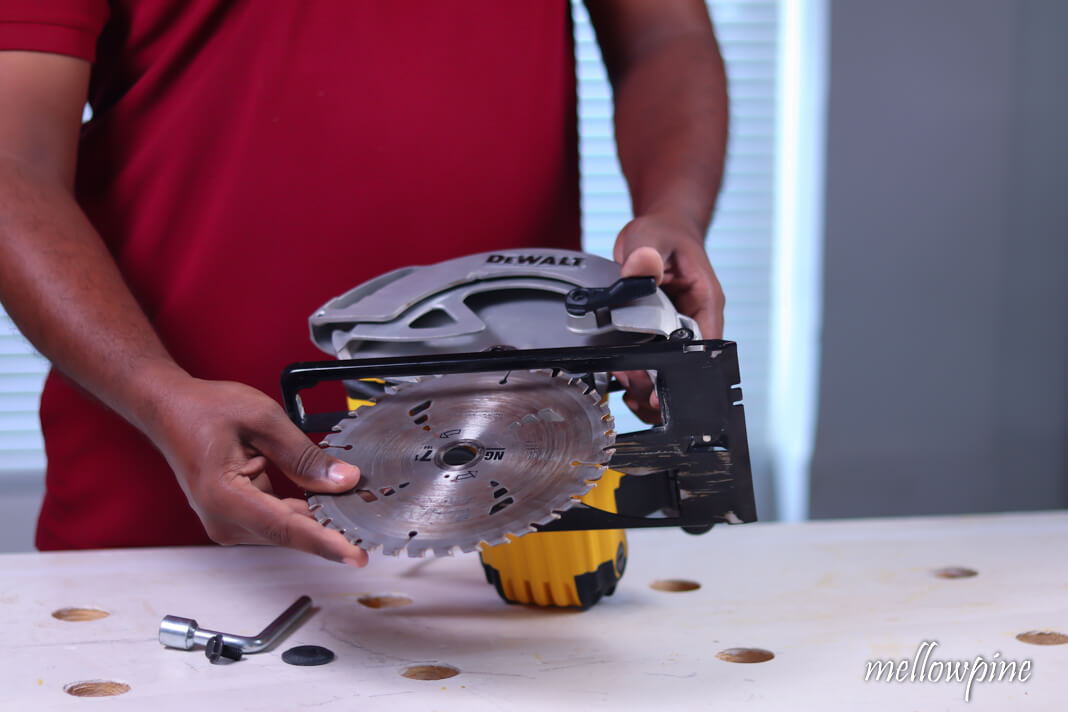
Here’s where the magic starts to happen. Most Craftsman saws have a spindle lock. You’ll usually find a button or a lever near the blade guard. Push and hold that spindle lock – this will prevent the arbor shaft from spinning while you’re trying to loosen the nut. It’s like putting a handy little stopper in your sink so the water doesn’t drain away while you’re cleaning it.

Now, grab your wrench. You’ll be loosening the arbor nut, which is the big nut holding the blade onto the saw. It’s typically a counter-clockwise turn to loosen, just like most things you unscrew. Apply steady pressure. If it’s a bit stubborn, don’t force it. Sometimes a gentle tap with the palm of your hand on the wrench can help break it free. Remember, we’re going for ‘easy-going,’ not ‘ripped-a-muscle.’
As you loosen the nut, you’ll notice the blade is sandwiched between two flanges. Keep track of the order and orientation of these. Usually, it’s flange, blade, flange, nut. But double-check your saw; a quick peek at the manual, or even a quick Google search for your specific model, can save you a headache later.
Once the nut is loose enough, you can unscrew it the rest of the way by hand. Then, carefully slide the old blade off the arbor. Be mindful of its sharp edges!
Choosing Your New Cutting Companion
Ah, the new blade. This is where you can really elevate your sawing game. Think of blades like shoes: you wouldn’t wear hiking boots to a ballroom dance, right? The same applies here.

For general woodworking and DIY projects, a 24-tooth or 40-tooth carbide-tipped blade is a solid choice.
- 24-tooth blades: These are your rough-and-tumble guys. They cut faster and are great for demolition or ripping through larger pieces of lumber where a super-smooth finish isn't the top priority. Think of them as the rockstars of the blade world.
- 40-tooth blades: These are your more refined artists. They provide a smoother cut and are ideal for cross-cutting and finer woodworking where precision and a clean finish are important. These are your jazz musicians, more nuanced and detailed.
You’ll also see blades with more teeth (60-tooth and up). These are for really fine finishes, like cutting melamine or delicate veneers. And don’t forget blades designed for specific materials, like metal or masonry. Just make sure the arbor hole on your new blade matches the arbor on your saw. They’re usually standard sizes, but it’s always worth a check.
A little fun fact: the teeth on saw blades aren't just for cutting; their angle (known as the hook angle) also affects how aggressively the blade cuts. A steeper hook angle means a more aggressive cut.
The Rebirth: Installing the New Blade
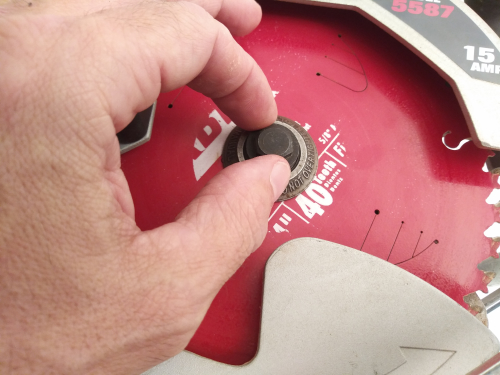
Now for the happy homecoming. Before you put the new blade on, take a moment to wipe down the flanges and the arbor. Get rid of any lingering sawdust or grime. A clean mating surface ensures a secure fit.
Slide your shiny new blade onto the arbor. Make sure it’s oriented correctly. Most blades have an arrow indicating the direction of rotation. This arrow should point in the same direction as the arrow on your saw’s blade guard or housing. This is super important for safety and performance.
Now, put the top flange back on, followed by the arbor nut. Again, remember the order: flange, blade, flange, nut.
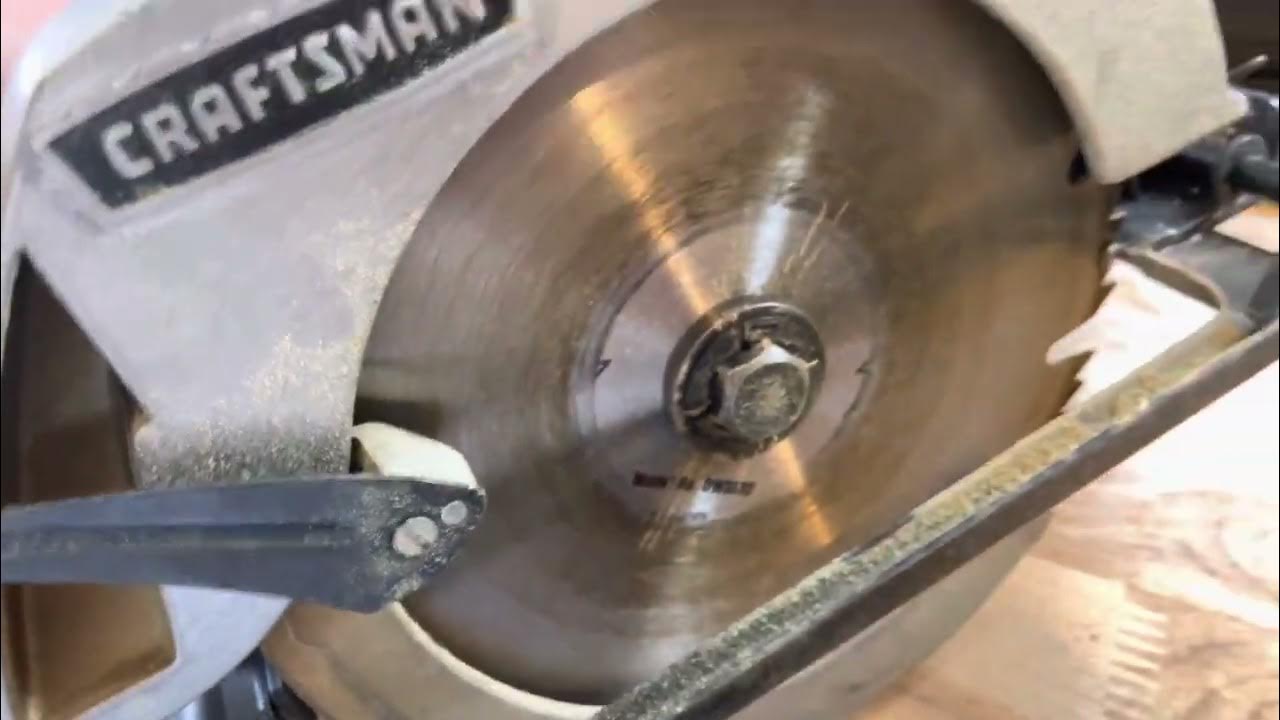
Once everything is in place, it’s time to tighten that nut. Use your wrench and the spindle lock again. Tighten it firmly, but don’t overtighten. You don’t want to strip the threads. The goal is secure, not seismic.
Once the nut is snug, give the blade a spin with your hand (the saw still unplugged, of course!). It should spin freely without wobbling. If it wobbles, something isn’t seated correctly. Take it apart and try again. This is your moment of quiet contemplation, your pre-flight check.
The Test Drive
With the new blade installed and everything secure, you can finally plug your saw back in. Find a scrap piece of wood – your ‘maiden voyage’ material. Take a deep breath, put on your safety glasses and gloves, and make a cut. Listen to the sound. Feel the power. It should be a smooth, satisfying cut, a stark contrast to the struggle you were having before.
It’s a small victory, isn’t it? That satisfying thwack as the blade glides through the wood, leaving a clean, crisp line. It’s the sound of progress, the sound of your project moving forward. It’s like hitting the perfect note on a guitar; everything just aligns.
A Reflection on Sharpening Our Daily Lives
Changing a saw blade might seem like a mundane task, just another item on the endless to-do list. But if you stop and think about it, there’s a lovely little metaphor woven into the process. We all encounter dullness in our lives, whether it’s a project that’s lost its spark, a routine that feels monotonous, or even our own energy levels flagging.
Just like that circular saw blade, sometimes all it takes is a simple, deliberate act to bring back the sharpness, the efficiency, the joy. It’s about recognizing when something isn’t performing at its best and taking the time to address it. It’s about understanding that maintenance, whether for our tools or for ourselves, isn’t a chore, but an investment in better performance and a smoother experience.
So, the next time you find yourself needing to change that blade, don’t see it as an obligation. See it as an opportunity. An opportunity to connect with your tools, to embrace a bit of DIY wisdom, and to remind yourself that even the most basic tasks, approached with care and a little bit of mindfulness, can bring a surprising sense of accomplishment and a sharper edge to your day.