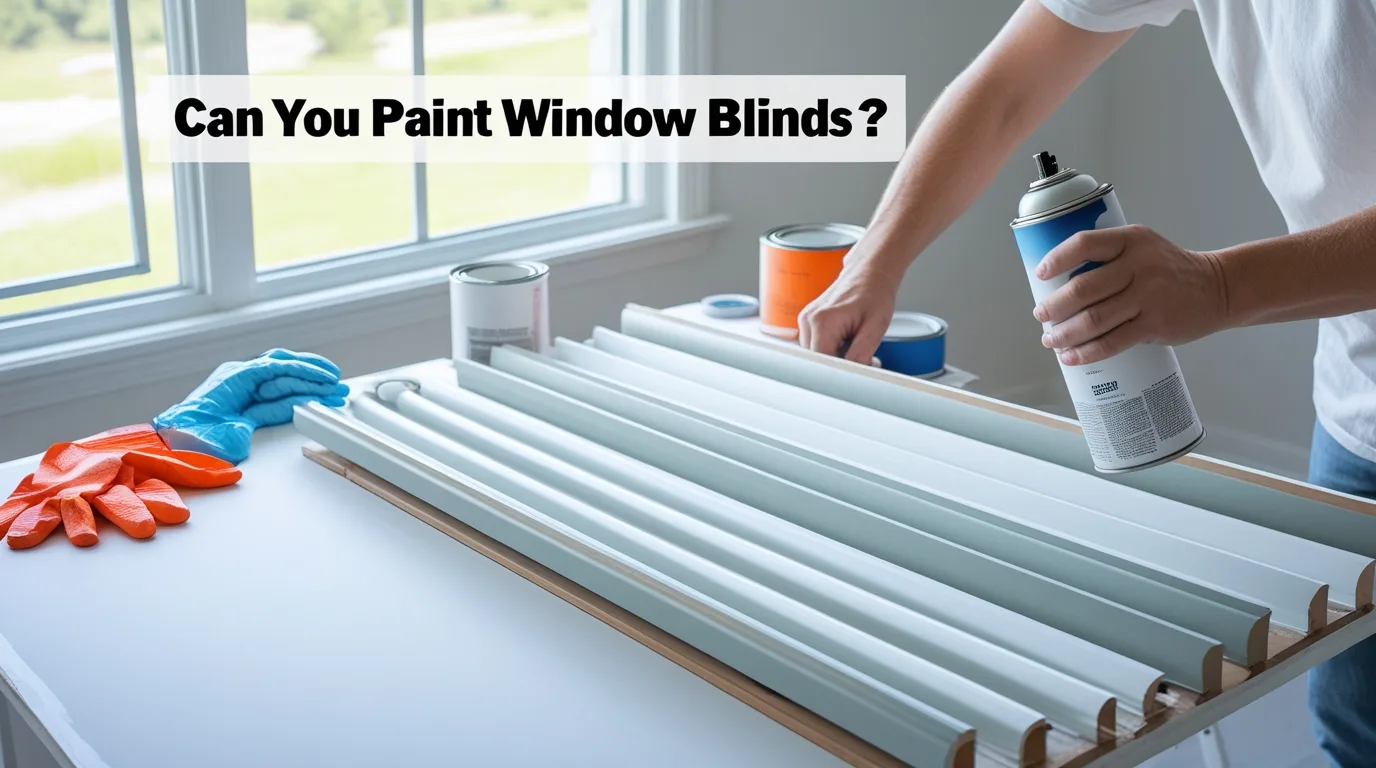
Ever stare at your blinds and think, "You know what? These need a little oomph." Maybe they're a boring beige, a faded faux wood, or just, well, blinds. And then the thought pops into your head, a little spark of DIY genius: "Can I just… paint them? Like, without taking every single slat off? That sounds like a whole lot of effort I'm not sure I'm ready for."
It's a question that probably crosses a lot of our minds when we're looking to give a room a quick refresh. We see those pristine, perfectly painted blinds in magazines and on Pinterest, and we wonder if that kind of magic can happen in our own homes with a little less elbow grease. And honestly, who wouldn't want to know if there's a way to get that fresh, updated look without turning your living room into a deconstruction zone? It’s like wanting to upgrade your phone without having to swap out every single internal component, right? You just want the shiny new features!
So, let's dive in, shall we? Can you actually paint those blinds without embarking on a dismantling adventure? The short answer is… yes, you totally can! But like most things in life, there are a few little buts and hows to consider. It's not quite as simple as slapping on a coat of whatever leftover house paint you have in the garage, but it's definitely doable, and it can be a surprisingly satisfying project.
The Big Question: To Take Apart, Or Not To Take Apart?
This is the heart of the matter, isn't it? The idea of taking apart blinds can feel as daunting as trying to assemble IKEA furniture without the instructions. You've got all those little cords, the tilting mechanisms, the tiny screws… it’s enough to make anyone’s eyes glaze over. And if you've got, say, plantation shutters that are more like architectural features than simple window coverings, the thought of taking them apart might send shivers down your spine.
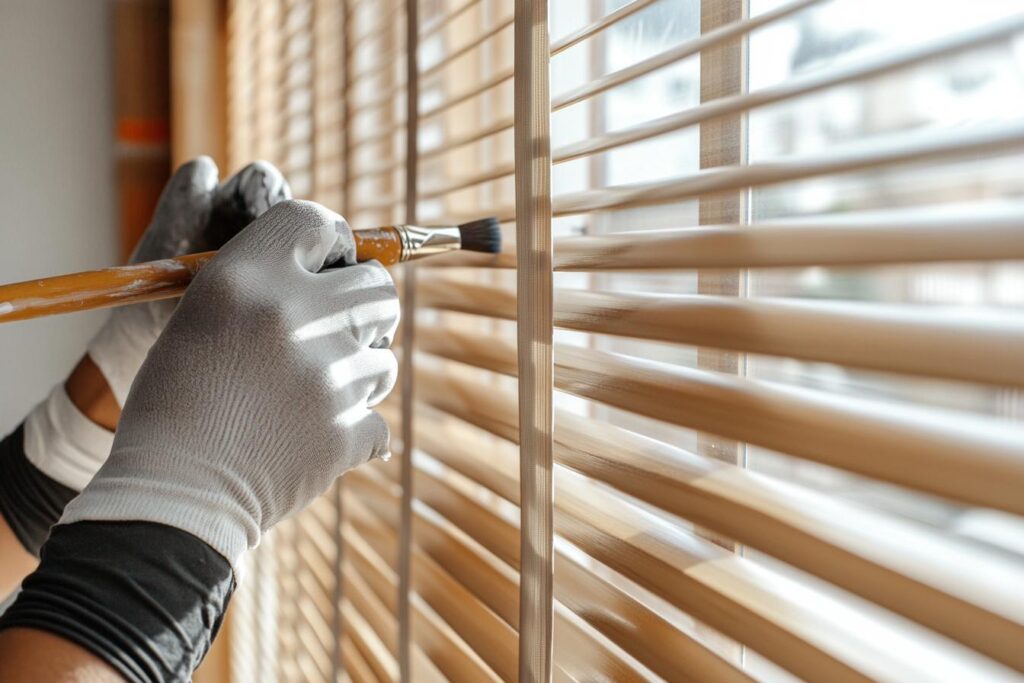
But here's the cool part: for a lot of common blind types, you can achieve a fantastic result without removing them from the window. Think of it like giving your car a really good wash and wax without having to take the engine out. You’re focusing on the visible surface, the part that makes the whole thing look so much better. It’s all about smart prep and the right tools.
Now, when we say "blinds," we're talking about a whole spectrum of window treatments. We've got your classic vinyl or aluminum blinds, the ones that are practically the backbone of office buildings and rental apartments. Then there are the faux wood and real wood blinds, which often have a bit more heft and texture. And of course, the fabric roller blinds or Roman shades, which bring a softer touch to a room.

The approach you take will definitely depend on the type of blind you’re working with. It’s not a one-size-fits-all kind of deal. But the principle of painting them in place? That’s where the magic of convenience comes in.
Why Even Bother Painting Blinds?
You might be wondering, "Why go through the trouble at all?" Well, think about it. Your blinds are like the backdrop to your entire room. They can either blend in, adding a subtle layer of function, or they can become a statement piece, a pop of personality. And sometimes, they just look… tired. Sun-faded, a little grimy, or just a color that you've completely outgrown.
Painting them is a fantastic way to:
- Update your decor without a major overhaul. It's like changing your outfit to completely change your vibe.
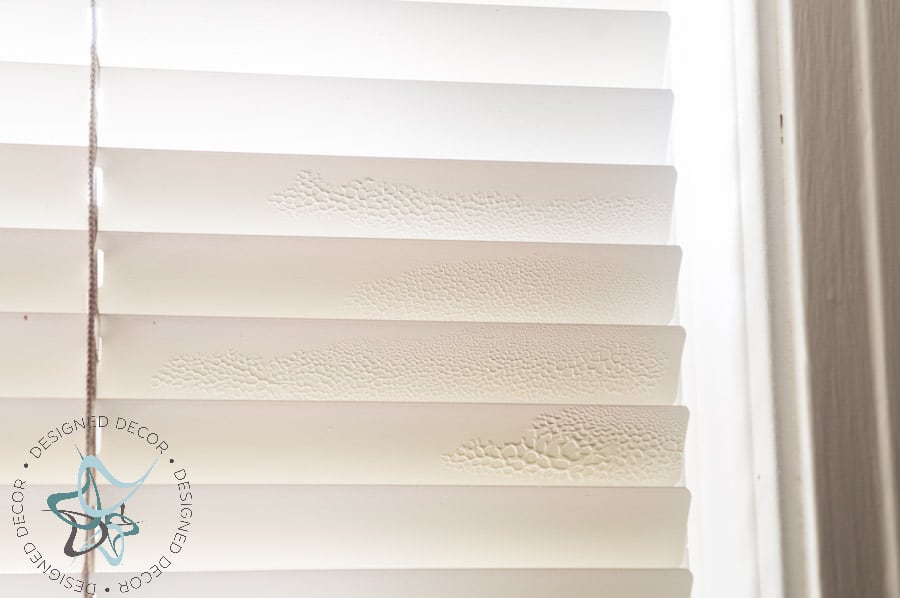
- Cover up imperfections. Scratches, scuffs, or those unidentifiable marks that seem to appear out of nowhere? Paint can be your best friend.
- Achieve a custom look for a fraction of the cost of buying new. Seriously, custom blinds can cost a pretty penny!
- Match your new color scheme. Did you just paint your walls a bold new color? Your old blinds might be clashing like a polka dot shirt with striped pants.
It’s like a little secret weapon in your decorating arsenal. Instead of shelling out for a whole new set of blinds, you can give your existing ones a whole new lease on life. It’s the ultimate win-win: less money spent, and a fresh new look. Plus, there's a certain satisfaction in transforming something ordinary into something extraordinary with your own hands. It’s like discovering you can levitate small objects – cool and surprisingly practical!
The 'No Disassembly' Approach: How Does It Work?
So, how do we pull off this no-take-apart marvel? It all comes down to preparation and the right kind of paint. You’re not just going to grab a brush and start slathering. Think of it like prepping for a big presentation – you need to get all your ducks in a row first.
First things first: cleaning. This is non-negotiable. Your blinds have probably seen better days, collecting dust, grime, and who knows what else. You need to give them a good scrub-down. A damp cloth with a bit of mild soap or a specialized cleaner for blinds is usually the way to go. Make sure to get into all the nooks and crannies. Let them dry completely. No one wants to paint over a damp surface; it's like trying to build a sandcastle on a wet beach – it just won't hold.
Next up: masking. This is where you protect anything you don't want to get painted. Think window frames, walls, and any hardware. Painter's tape is your best friend here. Be generous with it. It’s better to tape too much than too little. You’re essentially creating a protective bubble around your blinds, ensuring that only the slats get the glorious color makeover.
Now, for the actual painting. You can’t just use any old interior wall paint. You need something that’s going to adhere well and be durable. Spray paint is often the hero of this operation. Why? Because it provides a smooth, even coat, and it can get into all those tight spaces between the slats. You can get spray paints specifically designed for plastic, metal, or wood, depending on what your blinds are made of. It's like having a magic wand that dispenses color precisely where you want it.
If you're dealing with metal or vinyl blinds, a good quality spray primer designed for those materials is a wise first step. This helps the paint adhere better and prevents chipping down the line. For wood blinds, you might be able to get away with a good spray paint designed for wood, or you might opt for a light sanding (if you're feeling adventurous!) followed by a primer and then your chosen paint.
The Process: Step-by-Step (Chill Edition)
Let's break it down, keeping it easy and breezy:
- Assess your blinds. What are they made of? Vinyl? Aluminum? Wood? Faux wood? This will determine your paint and primer choice.
- Give them a good clean. Seriously, no shortcuts here. Let them dry fully.
- Close the blinds. This might seem obvious, but it’s important for even coverage.
- Protect your surroundings. Tape off window frames, sills, and anything else you don’t want painted. Lay down drop cloths.
- Apply primer (if needed). Work in thin, even coats. Let it dry completely according to the product instructions.
- Spray paint! Hold the can about 10-12 inches away and use smooth, sweeping motions. Overlap your strokes slightly. Work from top to bottom, or side to side. Don't try to get full coverage in one go; multiple thin coats are better than one thick, drippy one.
- Allow ample drying time between coats. Patience is a virtue, especially when it comes to paint.
- Gently open and close the blinds once the paint is fully dry (and we mean fully dry, like 24 hours) to ensure the slats move freely and to get paint into any areas you might have missed. You might need to touch up a few spots.
- Remove painter's tape. Do this carefully.
It sounds like a bit of a process, but honestly, it’s more about setting yourself up for success. It’s like baking a cake – you follow the steps, and you get a delicious result. And the result is a set of blinds that look like you just bought them, but with a color that’s exactly what you wanted. Pretty neat, right?
What to Watch Out For (The Minor Hiccups)
While the "no disassembly" method is fantastic for its convenience, there are a couple of things to keep in mind. If your blinds are very old, brittle, or have a lot of intricate moving parts, you might find that painting them in place causes some of the mechanisms to stick a bit. A gentle touch and possibly a light lubricant after painting can help with this.

Also, some people prefer to paint blinds individually for the absolute most perfect finish, ensuring every single edge is covered. This is where the "taking them apart" debate really comes into play. If you're a perfectionist who needs every millimeter of blind to be flawlessly coated, you might still lean towards disassembly. But for most of us, the result you can achieve without taking them apart is more than good enough and a massive time-saver.
Think of it like this: sometimes you need to take your shoes to a cobbler for a full resole, and sometimes a quick polish at home is all they need to look fantastic. It depends on what you’re aiming for!
The Verdict? Go For It!
So, can you paint blinds without taking them apart? Absolutely, yes! With a little bit of planning, the right materials, and a willingness to embrace the DIY spirit, you can give your old, tired blinds a stunning new look. It’s a budget-friendly, time-saving way to refresh your space and add a personal touch.
It’s a project that’s more accessible than you might think, and the payoff is pretty significant. You get to enjoy the satisfaction of a job well done and a room that feels instantly more polished and personalized. So, next time you’re gazing at your blinds and dreaming of a color change, remember: you don’t necessarily need to dismantle your entire window dressing to achieve a beautiful transformation. Sometimes, the simplest approach is the most effective. Happy painting!